Growing Mushrooms at Home
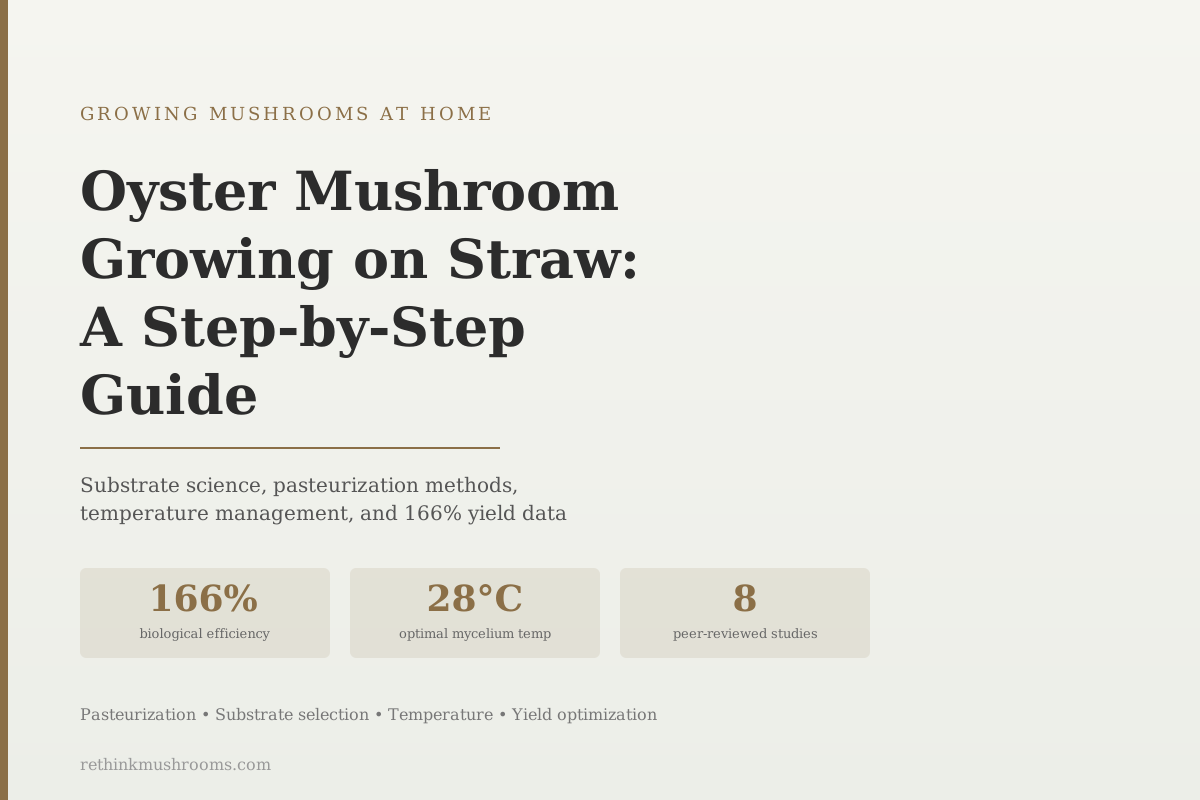
166% biological efficiency
Rice straw produced 956 grams of oyster mushrooms per bag with 166.29% biological efficiency in the Subedi 2023 study. The mushrooms produced more dry weight than the dry weight of straw consumed. No other common substrate matches this performance for P. ostreatus.
Subedi et al., Int J Med Mushrooms, 2023
28°C
optimal temperature for oyster mushroom mycelium colonization of straw; drop to 18–22°C to initiate fruiting (Hoa et al., 2015)
Trichoderma
the green mold that is the primary contamination threat in straw cultivation; pasteurization eliminates it (Jaramillo Mejía et al., 2024)
2–3 flushes
typical yield from a straw bag; each subsequent flush produces less as available nutrients are consumed
Subedi et al., Int J Med Mushrooms, 2023
 View as image ↗
Straw is not just the traditional substrate for oyster mushrooms. It is the research-backed benchmark. Subedi and colleagues in 2023 tested rice straw against multiple alternatives and found it produced the highest yield: 956.14 grams per bag with a biological efficiency of 166.29%.[6] Biological efficiency above 100% means the mushrooms produced more fresh weight than the dry weight of substrate consumed, a remarkable conversion rate that explains why straw has been the go-to for oyster mushroom growers for decades.
This guide covers the full straw cultivation process with the research behind each step. Most competitor guides tell you what to do without explaining why. Here, the why matters, because understanding the biology behind pasteurization, temperature management, and substrate mixing helps you troubleshoot problems and make better decisions.
For the complete overview of oyster mushroom cultivation methods, see How to Grow Oyster Mushrooms at Home. For an introduction to the broader substrate science, see Mushroom Substrate Guide: Choosing the Right Growing Medium.
Key Takeaways
- Rice straw produced 956.14 g/bag with 166.29% biological efficiency in Subedi et al. 2023, the highest-efficiency substrate data for P. ostreatus in the recent literature
- Pasteurization is not optional: Jaramillo 2024 identified Trichoderma as the primary contamination threat in P. ostreatus cultivation; pasteurization by hot water or steam is the evidence-backed control method
- Optimal colonization temperature is 28°C; fruiting should be initiated at lower temperatures (18–22°C), with humidity at 85–95% and fresh air exchange to reduce CO2 buildup
- Substrate blending improves yield in some scenarios: Nguyen 2020 found 80% straw + 20% coffee grounds improved mycelial extension vs. straw alone; De 2023 found rice straw + sugarcane bagasse blends produced up to 886 g/kg dry substrate
- Jin 2020 showed that adding herb residues to standard substrate can enrich the nutritional profile of fruiting bodies (L-glutamine measured at 11.8 mg/g in first-flush mushrooms)
- Oyster mushrooms can convert over 200 different lignocellulosic materials into edible protein per Grimm and Wösten 2018; straw is the benchmark but other agricultural by-products are viable alternatives
Why Straw Is the Best Substrate for Oyster Mushrooms
Straw's primary value as a substrate is its lignocellulosic composition. The cell walls of straw are made of cellulose, hemicellulose, and lignin, the same structural compounds that make up wood. Oyster mushrooms produce enzymes (primarily laccases and peroxidases) that break down these compounds and convert them to glucose, which fuels both mycelial growth and mushroom production.
Straw outperforms many other substrates because its lignocellulosic structure is highly degradable by P. ostreatus. The 166.29% biological efficiency from Subedi 2023 is the headline number; De and colleagues in 2023 also tested optimized blends of rice straw and sugarcane bagasse, finding maximum yields of 886 g/kg dry substrate, with the blend outperforming either component alone.[5] Both studies confirm straw as a high-efficiency baseline.
The 2025 systematic review by Timm and colleagues on substrate effects across edible mushroom species confirms that oyster mushrooms are among the most substrate-flexible cultivated fungi, capable of efficiently degrading diverse lignocellulosic materials while maintaining consistent nutritional quality in the fruiting bodies.[8] This is why Grimm and Wösten described oyster mushrooms as capable of converting over 200 distinct lignocellulosic agricultural waste streams into edible protein in their 2018 review of mushroom cultivation in the circular economy.[2]
Rice straw tends to outperform wheat straw and oat straw in yield studies, though wheat straw is a practical substitute when rice straw is not locally available. The key is using straw that is clean, mold-free, and as fresh as possible; aged straw that has already begun microbial breakdown has fewer available nutrients for the mycelium to work with.
What You Need
The equipment list for straw cultivation is intentionally minimal:
Substrate: 2–5 lbs of dry straw (rice, wheat, or oat) per grow bag. Source from local agricultural suppliers, feed stores, or farm supply stores. Avoid straw that has been treated with pesticides or herbicides.
Spawn: Oyster mushroom grain spawn (wheat, rye, or oat grain). Oat grain spawn produces particularly good results with P. ostreatus per Nguyen and Ranamukhaarachchi in 2020.[4] Plan for 10–15% spawn by dry weight of substrate.
Pasteurization setup: A large stockpot or cooler, a thermometer, and a heat source. Hot water pasteurization requires maintaining water at 160–175°F (71–79°C) for 60–90 minutes.
Grow bags or containers: Polypropylene grow bags with filter patches are ideal. 5-gallon buckets with drilled holes are a practical alternative. Garbage bags with holes punched in them also work for beginners.
Environment: A space where you can maintain 24–28°C during colonization and 18–22°C during fruiting, with the ability to increase humidity and provide indirect light.
Step 1: Pasteurizing the Straw (Not Optional)
Most cultivation failures come from skipping or inadequately performing pasteurization. Here is why it matters.
Pasteurizing straw for oyster mushrooms eliminates competing organisms, particularly Trichoderma, so that oyster mushroom mycelium can colonize without competition. At 160°F (71°C) for 60 minutes, the spores and vegetative cells of Trichoderma and other competing molds are killed, while the substrate structure remains intact for mushroom colonization.
Jaramillo Mejía and colleagues in 2024 investigated contamination control in P. ostreatus cultivation and identified Trichoderma as the primary contaminant threat.[7] Their study confirmed that pasteurization by steam or hot water immersion is the most effective decontamination method. They also tested ozone treatment as a lower-energy alternative, finding it viable for Trichoderma suppression while preserving substrate viability for mushroom colonization.
Hot water pasteurization (most common):
- Heat water to 160–175°F (71–79°C) in a large pot
- Submerge straw completely (weigh it down if needed)
- Maintain temperature for 60–90 minutes
- Drain and spread straw to cool to room temperature (below 80°F / 27°C) before inoculating
- Straw should feel damp but not dripping when you squeeze a handful
Lime water cold pasteurization (no heat): Hydrated lime (calcium hydroxide) raises water pH to approximately 12. At this pH level, Trichoderma spores and most competing fungi cannot survive. Submerge straw in a lime water solution (1% lime by weight) for 12–18 hours at room temperature, then drain and allow to air until no longer dripping. This method requires no cooking equipment and produces good results, particularly in warm climates.
For a detailed comparison of pasteurization methods, see How to Prepare Mushroom Substrate: Sterilization and Pasteurization.
Step 2: Substrate Mixing and Supplementation
Plain rice or wheat straw works well as a standalone substrate. Substrate blends can improve yield and, in some cases, nutritional quality.
Nguyen and Ranamukhaarachchi in 2020 tested numerous substrate combinations and found that 80% wheat straw + 20% spent coffee grounds improved mycelial extension compared to straw alone.[4] The 50% straw + 50% cardboard combination produced the best results for primordia formation in their study. These blends add both nitrogen (from the coffee grounds) and additional lignocellulosic material to the substrate.
Jin and colleagues in 2020 studied supplementation with herb residues (Chinese herbal medicine processing waste) and found it enriched the nutritional profile of the fruiting bodies.[3] First-flush mushrooms from supplemented substrate contained 11.8 mg/g of L-glutamine, with comparable or better yields than standard substrate. This suggests that some level of supplementation can improve both productivity and nutritional value when using locally available agricultural by-products.
Practical supplementation guidelines from the research: keep supplements to 10–20% of total substrate by weight. Higher supplementation rates increase contamination risk because the added nitrogen attracts competing organisms. Plain straw pasteurized properly will reliably outperform over-supplemented substrate that was contaminated.
Step 3: Inoculation and Packing
Once your straw has cooled to below 80°F (27°C) and feels uniformly damp (test: a handful squeezed firmly should release only a few drops of water), it is ready for inoculation.
Layer method (for bags): Alternate layers of spawn and straw as you fill the bag. A standard approach is a 1-inch layer of spawn, then 3–4 inches of straw, repeating until the bag is full. Finish with a top layer of spawn.
Mix method: Thoroughly mix spawn throughout the full quantity of straw in a clean bin before packing into bags. This produces faster, more even colonization but uses spawn less efficiently.
Spawn rate: 10–15% of substrate dry weight. At this rate, the mycelium is aggressive enough to colonize before competing organisms establish themselves. Higher spawn rates reduce contamination risk but increase cost; lower rates increase contamination risk.
Seal bags with polyfill stuffed into the opening, or twist and fold the top and secure with a rubber band. Filter patches on the side of the bag provide passive gas exchange during colonization.
Step 4: Incubation
During incubation, oyster mushroom mycelium colonizes the straw. The primary variable to control is temperature.
Hoa and colleagues in 2015 documented that the optimal temperature for P. ostreatus mycelium growth is 28°C (82°F).[1] Colonization slows significantly below 20°C and above 35°C. In practice, maintaining 24–28°C during spawn run produces consistently good results.
During incubation, place bags in a dark location with good air circulation. Light is not required during colonization. The bags should be checked daily for signs of contamination:
Healthy colonization: White, fluffy mycelium spreading through the straw. A faint mushroom-like smell. Bags may feel warm from mycelial metabolic activity.
Contamination: Green, black, or gray patches indicate Trichoderma or other competing molds. A sour or unpleasant smell. Contaminated bags should be removed from the grow space immediately to prevent spreading.
Colonization time on pasteurized straw: typically 10–21 days at 24–28°C, depending on spawn rate and bag size.
Step 5: Initiating Fruiting
When bags show full white colonization throughout the straw, they are ready to fruit. Three changes trigger pinning:
Temperature drop: Lower the environmental temperature to 18–22°C (64–72°F). This temperature shift signals a seasonal change, which in nature cues fruiting. Hoa and colleagues' temperature research confirms that fruiting temperatures for P. ostreatus are lower than colonization temperatures.[1]
Fresh air exchange (FAE): Oyster mushrooms are sensitive to CO2 accumulation. Open the top of the bag, cut holes in the sides, or remove the bag entirely and place the colonized block on a surface where it can breathe. Elevated CO2 causes long, thin-stemmed, small-capped pins. Adequate FAE produces thick, short-stemmed clusters.
Humidity: Maintain 85–95% relative humidity during fruiting. Mist the exposed substrate twice daily with clean water. Do not mist the developing pins directly; mist the surrounding air and surfaces.
Light: Oyster mushrooms need indirect light to orient pin growth. 12 hours of indirect natural light or a simple grow lamp on a timer is sufficient. They do not need bright light.
Harvest and Subsequent Flushes
Harvest when the caps are fully developed but before the edges begin to wave or curl upward and before the mushrooms start releasing spore clouds. At the optimal harvest point, the caps are still concave or flat, not yet upturned.
Cut the entire cluster at the base with a clean knife or scissors. Remove all remaining stem material from the substrate to prevent it from rotting in place.
Allow the substrate to rest for 5–10 days between flushes. Resume misting and humidity maintenance to trigger the second flush. Biological efficiency will be lower in subsequent flushes as available nutrients are consumed. The Subedi 2023 study measured total yield across multiple flushes, giving the 166.29% biological efficiency figure across the full growing cycle, not just the first flush.[6]
Most straw grows produce 2–3 flushes before yields become negligible. When the substrate produces no new pins after 2 weeks of maintenance, it is ready to compost. Spent substrate from oyster mushroom cultivation is an excellent garden amendment, partly broken-down into a form accessible to soil organisms.
The Bottom Line
Straw is the research-backed benchmark substrate for P. ostreatus, with biological efficiency exceeding 100% in peer-reviewed studies on rice straw. Pasteurization to eliminate Trichoderma is the most critical step: the most common source of failure is either skipping pasteurization or performing it inadequately. Temperature management separates the colonization and fruiting phases: 24–28°C for spawn run, 18–22°C to trigger fruiting. Substrate blends with cardboard, coffee grounds, or herb residues can improve performance but must be kept to 10–20% to avoid contamination risk from the added nitrogen.
Frequently Asked Questions
Sources & References
- 1. Source details for this reference are not yet available.
- 2. Source details for this reference are not yet available.
- 3. Source details for this reference are not yet available.
- 4. Source details for this reference are not yet available.
- 5. Source details for this reference are not yet available.
- 6. Source details for this reference are not yet available.
- 7. Source details for this reference are not yet available.
- 8. Source details for this reference are not yet available.