Oyster Mushroom Home Growing
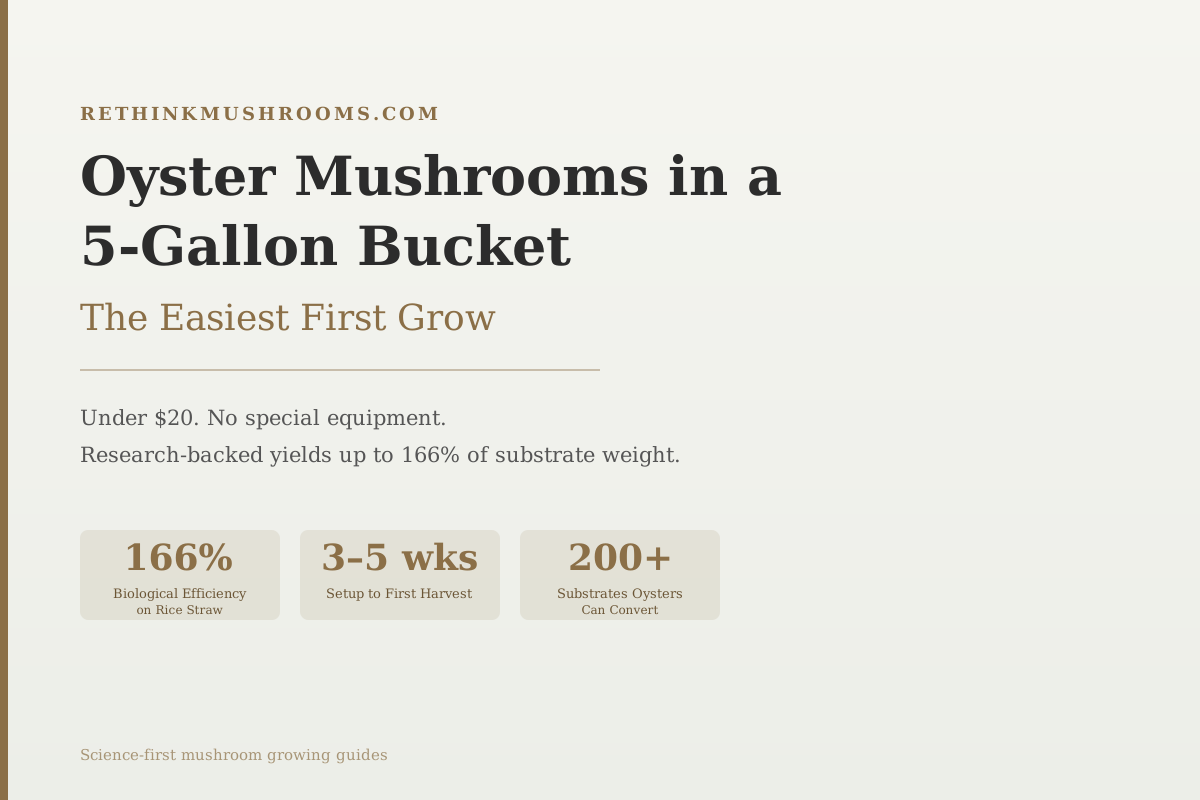
166% biological efficiency
Oyster mushrooms produced 166% biological efficiency on rice straw in a 2023 study; 1 kg of dry straw substrate yielded over 1.6 kg of fresh mushrooms.
Subedi et al., Int J Med Mushrooms, 2023
2–3 weeks
for mycelium to fully colonize a straw-filled bucket
200+
lignocellulosic materials oyster mushrooms can convert into food (Grimm & Wösten, 2018)
Under $20
total cost for a complete beginner bucket setup including spawn
Subedi et al., Int J Med Mushrooms, 2023
 View as image ↗
Growing oyster mushrooms in a 5-gallon bucket is the simplest entry point into home mushroom cultivation. The whole setup costs under $20, uses no specialized equipment, and produces food from materials most people would otherwise throw away. It works because oyster mushrooms (Pleurotus ostreatus) are biologically unusual: a 2018 review found they can convert over 200 different agricultural waste materials into edible protein, making them more substrate-tolerant than virtually any other cultivated crop.[2]
This guide is for complete beginners. If you want a deeper look at substrate science, hole spacing optimization, and multi-flush techniques, see The Bucket Method: full technical guide. For a broader introduction to mushroom growing, start with the complete beginner's guide to growing mushrooms at home.
Key Takeaways
- Oyster mushrooms produced 166.29% biological efficiency on rice straw in a 2023 study, one of the highest yields of any cultivated mushroom crop (Subedi et al., 2023)
- A 5-gallon bucket needs 6-8 evenly spaced holes drilled in the sides for fruiting body emergence; the substrate goes in layers alternating with grain spawn
- The optimal temperature for mycelium growth is 28°C (82°F); fruiting is triggered by dropping temperature to 18-22°C (64-72°F); this temperature shift is the most important single technique (Hoa et al., 2015)
- Wheat straw, oat straw, and rice straw all work well; a 50% straw and 50% cardboard mix also improves mycelial extension in lab tests (Nguyen & Ranamukhaarachchi, 2020)
- Homegrown oyster mushrooms on agricultural by-products maintain excellent nutritional quality, with glutamic acid and alanine as the primary amino acids (Tagkouli et al., 2020)
- Substrate is the primary determinant of yield and nutritional quality in cultivated mushrooms; using clean, properly hydrated straw is the single most impactful thing a beginner can control (Timm et al., 2025)
Why Oyster Mushrooms Are the Right Beginner Crop
Most edible mushrooms are finicky about what they grow on. Shiitake want hardwood logs or specific sawdust blocks. Lion's mane needs supplemented substrate at controlled humidity. Oyster mushrooms will fruit on straw, cardboard, corn cobs, wood chips, sugarcane bagasse, or dozens of other materials.
A 2025 systematic review confirmed that oyster mushrooms are among the most substrate-flexible species studied; substrate composition affects their yield, but they're far more forgiving of substrate variation than most cultivated species.[6] That tolerance is why they're the right starting point.
The yield potential is also exceptional. Subedi and colleagues measured 956 grams of fresh mushrooms from a single substrate bag, reaching a biological efficiency of 166%.[1] Biological efficiency is the weight of fresh mushrooms divided by the weight of dry substrate, expressed as a percentage. 166% means you get back more fresh weight than dry substrate you put in, which is why this is genuinely one of the most productive food crops by substrate.
For more on what makes oyster mushrooms worth growing beyond the yield, see ergothioneine in oyster mushrooms: the longevity antioxidant you can eat.
What You Need: The Complete Shopping List
Everything below is available from hardware stores, garden centers, and online mushroom suppliers:
- 5-gallon plastic bucket with lid: any standard hardware store bucket works
- Oyster mushroom spawn: grain spawn from a reputable supplier (oat or wheat grain works best)[3]
- Straw: wheat, oat, or rice straw from a feed store (avoid hay, which is too high in nitrogen)
- Drill with a 1-inch hole saw bit: for making fruiting holes in the bucket sides
- Large pot or bucket for pasteurizing: to heat the straw before inoculation
- Thermometer: a basic kitchen thermometer is sufficient
- Spray bottle: for maintaining moisture once fruiting starts
Optional but useful: a humidity tent (plastic bag or clear plastic sheet) to create a humid microclimate around the bucket during fruiting.
Total cost for all materials including spawn: typically $15-25 depending on your region.
For a guide on sourcing free substrate materials including straw and cardboard, see free mushroom substrates: coffee grounds, straw, and cardboard.
Growing Oyster Mushrooms in a 5-Gallon Bucket: Step by Step
Step 1: Drill the holes. Use a 1-inch hole saw to drill 6-8 holes evenly spaced around the sides of the bucket in a diamond or staggered pattern. These are where the mushroom clusters will emerge. Keep holes at least 4 inches from the bottom (too close and they stay too wet) and at least 3 inches apart.
Step 2: Pasteurize your straw. Chop straw into 3-4 inch pieces and submerge in water heated to 65-82°C (149-180°F) for 60-90 minutes. This kills competing molds (particularly Trichoderma, the main contaminant in home grows) without damaging the substrate's nutritional value. Let the straw cool to room temperature before proceeding.
Step 3: Check moisture. Squeeze a handful of cooled straw. A few drops of water should come out. Too wet causes contamination; too dry slows colonization. This "field capacity" moisture level is the target.
Step 4: Layer spawn and substrate. Add a layer of straw about 3 inches deep to the bucket, then scatter a handful of grain spawn over it. Repeat layers until the bucket is full, ending with a spawn layer on top. Aim for roughly 1 part spawn to 5-10 parts straw by volume.
Step 5: Incubate at 24-28°C. Cover the bucket with its lid (leave slightly ajar for gas exchange or add a few small holes) and place it in a warm spot. The ideal temperature for oyster mushroom mycelium is 28°C (82°F), confirmed in controlled studies.[4] A warm shelf, the top of a refrigerator, or a heated room works fine. Colonization takes 2-3 weeks; you'll see white fuzzy growth spreading through the straw.
Step 6: Trigger fruiting. Once the substrate is fully colonized (uniformly white), move the bucket to a cooler location (18-22°C) and introduce fresh air and indirect light. Humidity is critical here: mist the holes 1-2 times per day, or place a humidity tent over the bucket. Pins (tiny mushroom clusters) should appear within 3-7 days.
Step 7: Harvest before caps flatten. Harvest when caps are still slightly curled inward and before they begin to shed white spores. Twist clusters at the base rather than cutting. After harvest, mist the holes, let the bucket rest 1-2 weeks, and a second flush will develop from the same substrate.
What to Expect: Timeline, Yields, and Nutritional Quality
From start to first harvest: 3-5 weeks total. The spawn run (colonization) takes 2-3 weeks; the first flush develops in 3-10 days after triggering. Subsequent flushes typically come 1-2 weeks after each harvest, with productivity declining after the third flush as the substrate depletes.
Expected yield per bucket: 1-3 lbs of fresh mushrooms across 2-4 flushes. This varies with substrate quality, temperature control, and humidity maintenance. Research on optimized straw blends shows maximum yields of 886 g per kg of dry substrate with proper substrate composition.[3]
The nutritional quality of homegrown oyster mushrooms on agricultural by-products is genuinely good. Tagkouli and colleagues found that P. ostreatus fruiting bodies grown on varied agricultural substrates maintained high free amino acid content, with glutamic acid (the savory umami compound) and alanine as the dominant amino acids.[5] Substrate choice affects the specific profile, but none of the agricultural by-product substrates produced nutritionally deficient mushrooms.
For the deeper dive into substrate selection and how substrate affects both yield and nutritional composition, see oyster mushroom growing on straw: a step-by-step guide and the general beginner's guide to oyster mushrooms at home.
The Bottom Line
Growing oyster mushrooms in a 5-gallon bucket requires under $20, no specialized equipment, and 3-5 weeks from setup to first harvest. The method works because P. ostreatus converts straw and other agricultural by-products into food with exceptional efficiency (up to 166% biological efficiency in research conditions). The key variables are substrate moisture at inoculation, temperature during colonization (24-28°C), and humidity during fruiting. Multiple harvests are possible from a single bucket. The nutritional quality of homegrown oysters on agricultural substrates is well-supported by research.
Frequently Asked Questions
Sources & References
- 1. Source details for this reference are not yet available.
- 2. Source details for this reference are not yet available.
- 3. Source details for this reference are not yet available.
- 4. Source details for this reference are not yet available.
- 5. Source details for this reference are not yet available.
- 6. Source details for this reference are not yet available.